Your detailed, step-by-step guide on installing a wood shingle roof.
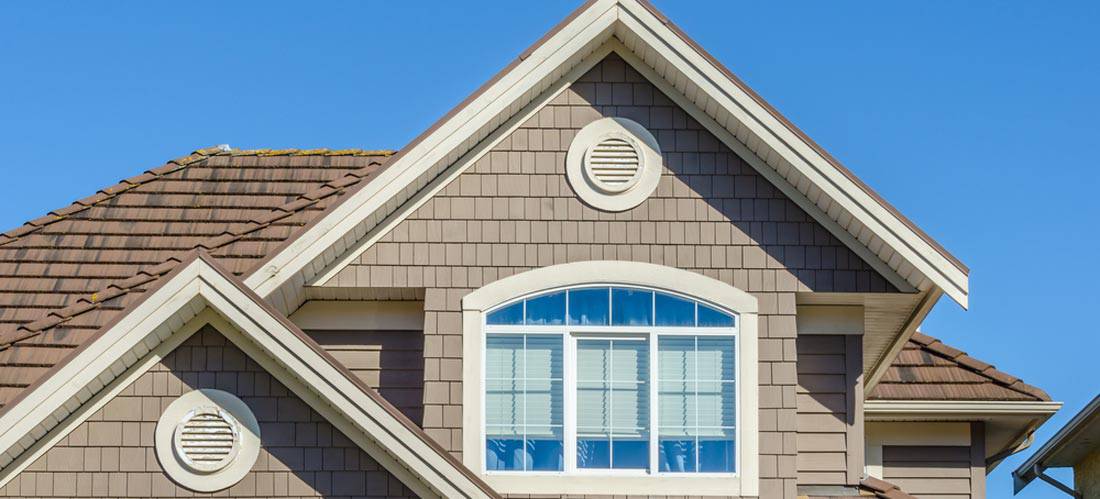
Install wood shingle roof with precision. Photo by Spigoo on Flickr. Wood shingles have a pleasant and traditional look when properly applied to a roof. Before you install wood shingle roof materials, you need to take a look at what the job actually entails. There is more to the project than just climbing onto your roof and nailing down the shingles. You need to practice proper safety, measure the roof carefully, and use the right tools.
Installing wood shake roofing requires a number of steps, which is why many homeowners work with a roofing contractor to get the job done. Not only can the contractor give you a roofing estimate, but he or she will ensure that the shingles properly fit the roof. You might even find that your roofing warranty covers only jobs done by professionals and not those done by amateur handymen.
Step 1: tools and safety
 If you decide to install the shingles yourself, start by creating a list of tools needed and ensuring your own safety. You need a roofing harness that attaches to both the roof and your body to protect you from slips and falls.
Many contractors who do residential roofing jobs will also use some type of underlayment that protects your roof from water damage. You can find this underlayment from most home improvement stores. It will add to your overall roofing cost, yet is really needed.
Find contractors now to install your wood shingle roof!
Step 2: locate center of roof
After you safely reach the roof, find the exact center of your roof using a tape measure. Make a chalk line at the center. This is where you'll start laying out the shingles. It is important that you follow this line at all times because shake roofing prices are a little higher than other types of roofing materials, and you don't want to waste any money.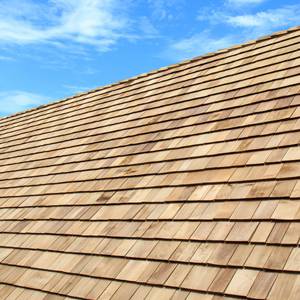
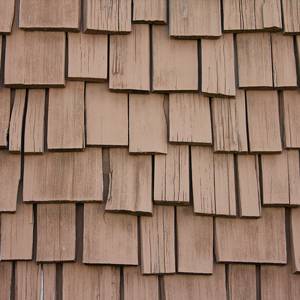
Wood shake roofing by J © on Flickr.
Step 3: install wood shingles
When you install wood shake roof shingles, place one shingle on the left of your guide line and a second shingle on the right side. The shingles should be no more than five-eighths of an inch apart. Drive a roofing nail directly through the corner of each shingle.
Slowly work your way across the roof, laying new shingles directly beside those currently on the roof, slightly overlapping the edges. When you reach the edge of the roof, use a guideline to ensure that the row is straight and even. If you notice any shingles butting out, remove the nails and reattach them to the roof. After laying down the first row, you can move up and begin laying the second row by following the same steps.
Even the slightest miscalculation on your part can cause your roofing cost to rise, and if you miss a small section of the roof, you might face costly roof repair expenses. QualitySmith has the information that you need to complete a roofing project, whether you opt to do the job yourself or hire a contractor. You can even find tips and helpful step-by-step guides that explain the process (request/article/tags/roofing).
Make sure that you have all of the tools and supplies that you need before you start to install wood shingle roof materials yourself.


Write a Comment