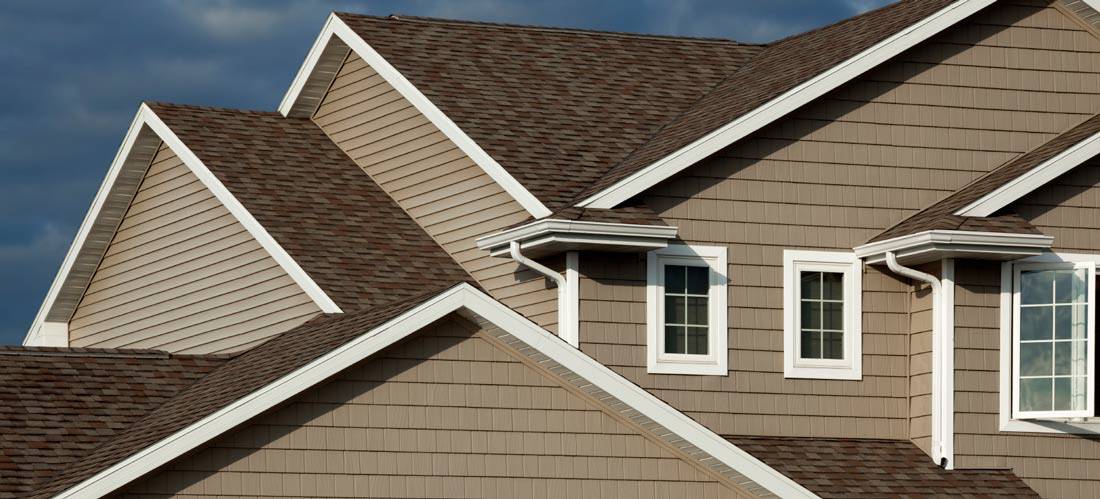
Cleaning your vinyl siding on a regular basis will help maintain the beauty and value of your home’s exterior.
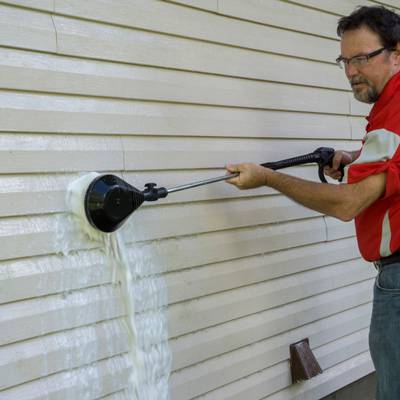
Handled with much patience and care, you can clean your vinyl siding yourself with your trusted pressure washer. Its user-friendliness and easily-operable features makes it an ideal tool for blasting away mold, dirt, and grime. And even if you don’t have one, you can just go to your local hardware store to rent a unit with all the necessary materials that go along with it!
If you want to successfully clean vinyl siding yourself, read on to find five simple steps that can guide you.
1. Select the right equipment
Whether it is a gasoline or electric-operated pressure washer, it has to have a flow rate of at least 4 gallons per minute as well as a pressure rating of at least 3,000 PSI. This is the ideal setting that can provide enough force for an effective cleaning of vinyl surfaces, even those in high and hard-to-reach areas.
Start using a low pressure and make sure that your spray nozzle has a 25-degree spray tip. You can add your choice of cleaning solution – store-bought or homemade – to the reservoir for added cleaning power.
2. Prep the vinyl surfaces
 Temporarily remove or relocate any furniture, equipment or planters from the surrounding area.
- If there are delicate foundation plantings as well as electrical components such as light fixtures and power outlets nearby, cover then with plastic sheeting to protect them from the high pressure spray and cleaning chemicals. Better yet, seal them with water-proof tape.
3. Use the spray nozzle correctly
First, test it on a small area to get used to its power. Adjust the distance or even the nozzle setting to increase or decrease its power. Spray in a steady manner – one section at a time, from left to right, them from bottom to top. Allowing the spray nozzle to stay at a 45-degree angle lessens the possibility of water infiltration to your insulation, framework, and electrical cables.
4. Remove mold and mildew the quick way
- Add one quart of regular household bleach to one gallon of your choice of cleaning solution.
- With a pump-up sprayer, wet the vinyl siding from bottom to top then leave it for 10 minutes or more.
- With a long-handled, soft bristle brush, scrub the siding from bottom to top.
- Rinse the bleach solution off with your pressure washer.
CAUTION : Make sure to wear proper cleaning attire – long sleeved shirt, long pants, goggles and rubber gloves – when using strong chemical cleaners. Do not try to mix bleach with cleaners containing vinegar or ammonia because it might cause a chemical reaction that can release toxic chlorine gas.
5. Remove mold and mildew the natural way
A cheap yet equally effective alternative to pressure washing your vinyl siding during your weekend DIY project is using a baking soda and vinegar combo! Mix in one half cup of baking soda to one fourth cup of vinegar (2:1 ratio) in a clean bowl. Add two cups of warm water and a few drops of oil-free liquid detergent. Maintain a gritty consistency of the solution for maximum effectiveness over mold and mildew growth on your vinyl siding.
Start at the topmost part. Grab a ladder and concentrate on one section at a time. Spray the solution and brush away. No worries about the liquid running down because it will actually loosen the dirt and make your job easier. Brush against the grain. For nooks and crannies, use a toothbrush. Rinse off with clean water.
It may take a little bit longer, but this fool-proof and generally less expensive method will ensure that you will have squeaky-clean vinyl siding after a hard day’s work.
Maintaining and cleaning your vinyl siding can be very important. Replacing it can be costly. This short article discusses the costs associated with replacing your siding.


Write a Comment